Why is the Engine Light On After Oil Change? Causes and Solutions
How long can you drive with the engine light on?
The duration you can drive with the check engine light on varies depending on the underlying issue. Some problems may be minor and allow you to continue driving, while others require immediate attention. Diagnosing the vehicle as soon as possible is best to prevent further damage and ensure your safety on the road.
Causes of the Engine Light On After Oil Change
When you see that dreaded check engine light illuminate on your car’s dashboard shortly after getting an oil change, it can cause concern and confusion. After all, you just had your oil changed, so what could be wrong? Surprisingly, several factors can turn the engine light on after an oil change. In this section, we’ll delve into these potential causes of engine light on after an oil change:
Incorrect Oil Type or Quantity
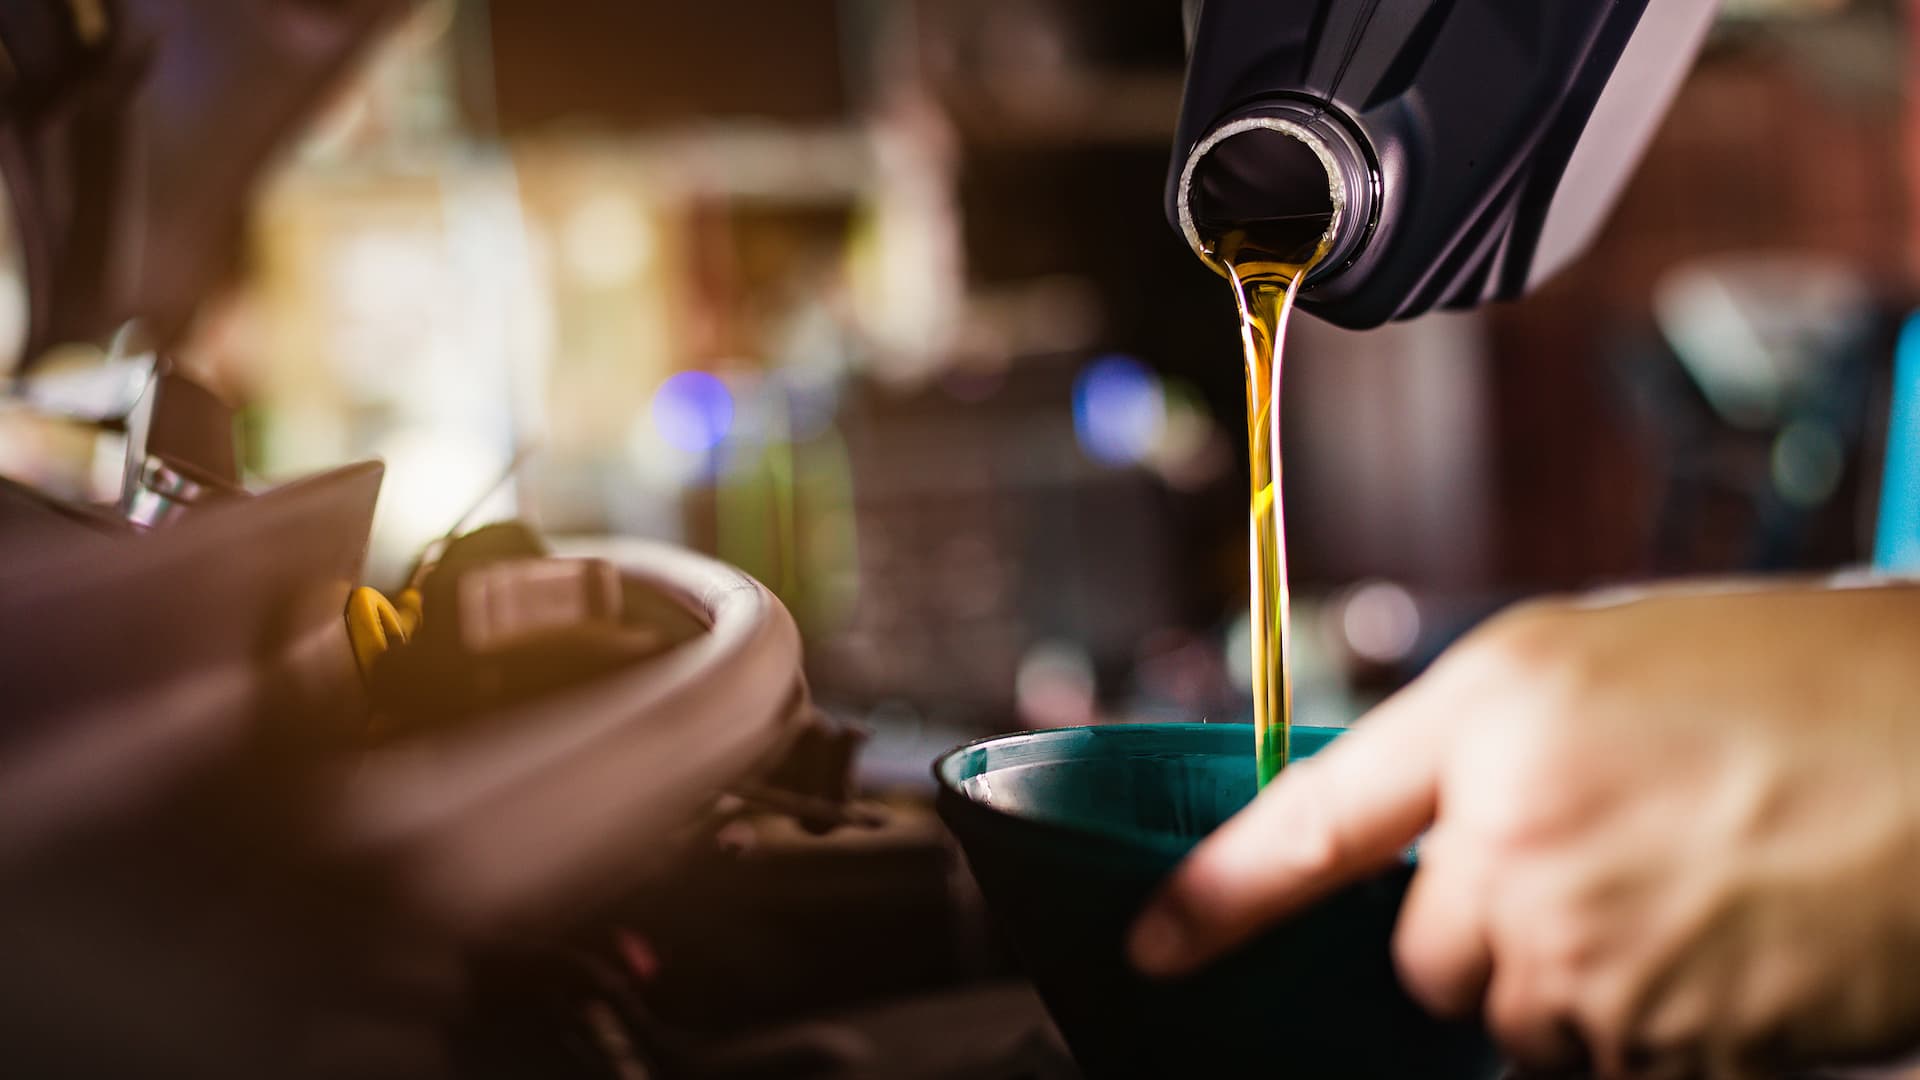
The engine oil is a crucial lubricant that ensures the smooth operation of your engine’s components. Different engines require specific oil viscosities and formulations to function optimally. Using the wrong type of oil can disrupt this delicate balance, potentially leading to engine problems and triggering the check engine light.
Equally important is using the correct quantity of oil during the oil change. Overfilling or underfilling the engine with oil can have adverse consequences. Overfilling can cause excess pressure within the engine, leading to leaks, oil foaming, and potentially damaging the catalytic converter. Conversely, insufficient oil can result in inadequate lubrication, potentially causing engine misfires and overheating, activating the engine light.
Loose or Damaged Oil Cap
The oil cap may seem small and insignificant, but it plays a crucial role in maintaining the proper pressure within the engine. It seals the oil reservoir and prevents contaminants from entering, ensuring the oil circulates as intended. A loose or damaged oil cap can disrupt this seal, allowing air to enter the system and decreasing oil pressure.
When air infiltrates the oil system due to a loose or damaged cap, it can lead to inaccurate readings by the engine’s sensors. These false readings may trigger the check engine light, signaling a problem that doesn’t necessarily exist. Fortunately, this is one of the most straightforward issues – simply tightening or replacing the cap can often rectify the situation.
Oil Filter Issues
The oil filter removes impurities and debris from the engine oil, ensuring that only clean oil circulates through the engine. A clogged or malfunctioning oil filter can hinder oil flow, reducing proper lubrication and potential engine damage.
When the oil filter is compromised, it can lead to reduced oil flow and pressure, triggering the check engine light. This is especially common after an oil change if the old filter wasn’t adequately replaced or a low-quality filter was used. Regularly replacing your oil filter as part of your maintenance routine can prevent this issue.
Oil Leak
Oil leaks are often a sign of trouble under the hood. They can result from various factors, including worn gaskets, damaged seals, or loose components. Oil leaks lead to the loss of precious engine oil and compromise the engine’s overall performance.
When your engine leaks oil, it may not have the required oil pressure to function correctly. This can trigger the engine light as the oil sensors detect the abnormal pressure levels. Addressing oil leaks promptly is essential to prevent further damage to your engine and avoid costly repairs.
Low Oil Level:
If there isn’t enough oil in your engine after an oil change, it’s a low engine oil level. This can be a problem because the engine needs oil to work smoothly. If it doesn’t have enough oil, it might not run well and can even make the check engine light and oil change light turn on.
Low Oil Pressure:
Engines need good oil pressure to stay well-lubricated. If the pressure is too low, it can happen because of a broken sensor, an oil leak, or a damaged oil pump. When this occurs, the oil change and check engine warning lights might turn on. If you ignore this problem, it can harm your engine.
Oil Dipstick Not Fully Seated:
The oil dipstick tube is a tool that checks how much oil is in your car’s engine. Sometimes, the dipstick isn’t put back in properly after an oil change. This can allow extra air into the engine, which confuses the computer and makes the check engine oil light come on.
Faulty Oxygen Sensor:
The oxygen sensor keeps track of the air inside your engine for better fuel economy. If it’s broken, the engine can misfire and cause the check engine light to turn on. It’s a good idea to replace this sensor every 60,000 to 90,000 miles.
Damaged Catalytic Converter:
The catalytic converter cleans up harmful stuff in your car’s exhaust. If damaged, it can cause more pollution and trigger the check engine light. It usually lasts a long time, but it might need replacing if there’s a big problem.
Faulty Ignition Coil:
The ignition coil helps your engine start by creating a spark. When it’s not working right, your engine can misfire, and that can turn on the check engine light. It’s a good practice to change it every 80,000 to 100,000 miles.
Damaged Spark Plug:
Spark plugs help the engine burn fuel correctly. When they’re old or broken, your engine might not run smoothly and can trigger the check engine light. Usually, you’d replace them every 30,000 to 50,000 miles.
Loose Gas Cap:
The gas cap keeps gas fumes inside the gas tank and keeps junk out. If it’s not tight, the check engine light can turn on because it messes with the fuel system. It’s wise to replace it if it’s damaged or every 50,000 miles to avoid problems.
Solutions to Address the Engine Light After Oil Change
Experiencing the combustion engine light on after an oil change can be worrisome, but practical solutions exist to resolve this issue and ensure your vehicle’s engine operates smoothly. Here, we’ll explore steps to address the engine light on after oil change:
Checking the Oil Level and Type
Here are the step-by-step Instructions for Checking and Correcting Oil Levels
To verify your engine’s oil level, follow these steps:
Ensure your vehicle is parked on level ground and turned off.
Locate the oil dipstick, usually with a bright handle, and remove it.
Wipe the dipstick clean and reinsert it fully.
Withdraw the dipstick again and observe the fluid level. It should fall between the “low” and “full” marks.
If the level is low, add the oil type specified in your vehicle’s manual and recheck until it’s within the recommended range.
Inspecting the Oil Cap
A loose or damaged oil cap can disrupt the engine’s pressure balance. Inspect the cap for cracks, signs of wear, or improper sealing. If it’s loose or compromised, it needs attention.
If the oil cap is damaged, replace it with a new one compatible with your vehicle’s make and model. If it’s loose, tighten it securely to ensure a proper seal.
Evaluating the Oil Filter
A compromised oil filter can hinder oil flow and damage your engine. Signs of a faulty filter include excessive engine noise, reduced performance, or visible debris in the oil. If you notice these issues, it’s time to inspect the filter.
Regularly replacing your oil filter as part of your maintenance routine can prevent engine light issues. Ensure you use a high-quality, manufacturer-recommended filter. If the filter is damaged or clogged, replace it promptly to restore proper oil flow.
Addressing Oil Leaks
Oil leaks can occur for common reasons, including worn gaskets, damaged seals, or loose components. Common areas for leaks include the oil pan, valve cover gaskets, and oil cooler lines. Inspect these areas for visible oil residue.
If you identify oil leaks, it’s essential to address them promptly. Fixing minor leaks may involve tightening loose components or replacing gaskets. However, for significant leaks or if you’re unsure about the source, it’s advisable to consult a professional mechanic who can diagnose and repair the issue correctly.
comments 0